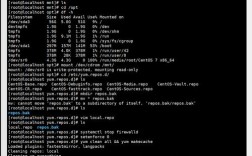
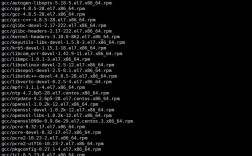
在CentOS上安装phpMyAdmin是一个多步骤的过程,需要先确保LAMP(Linux, apache, MySQL, PHP)或LNMP(Linux, Nginx, MySQL, PHP)环境已经正确设置,以下是详细的步骤:
1. **安装EPEL存储库**:
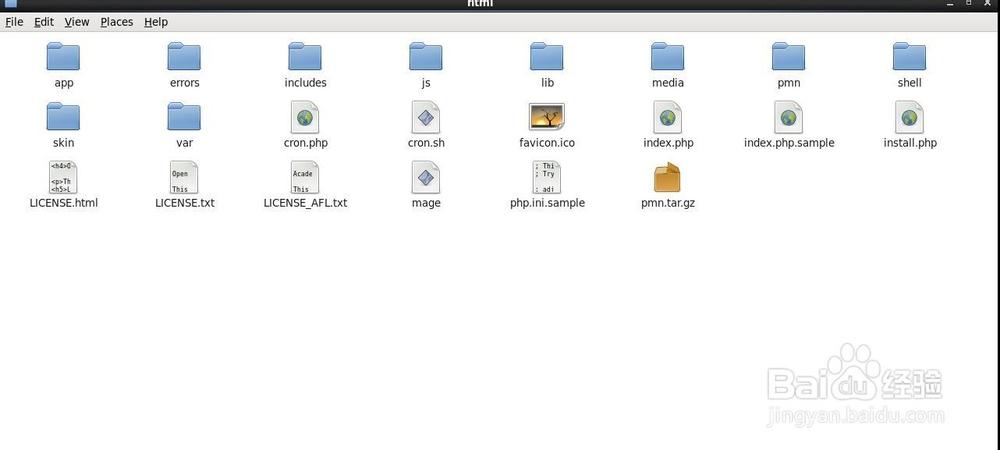
使用以下命令安装EPEL存储库rpm:
```bash
sudo yum install epelrelease y
```
2. **安装必要的软件包**:
确保已安装Apache和MySQL,如果尚未安装,可以使用以下命令进行安装:
```bash
sudo yum install httpd mariadbserver y
```
3. **启动并启用服务**:
启动并设置开机自启动Apache和MySQL服务:
```bash
sudo systemctl start httpd
sudo systemctl enable httpd
sudo systemctl start mariadb
sudo systemctl enable mariadb
```
4. **下载并解压phpMyAdmin**:
使用wget命令下载phpMyAdmin源码包:
```bash
wget https://files.phpmyadmin.net/phpMyAdmin/4.6.0/phpMyAdmin4.6.0alllanguages.tar.gz
```
解压下载的源码包:
```bash
tar zxvf phpMyAdmin4.6.0alllanguages.tar.gz
```
5. **移动并重命名文件夹**:
将解压后的phpMyAdmin文件夹移动到Web服务器的根目录,并进行重命名:
```bash
mv phpMyAdmin4.6.0alllanguages /usr/local/nginx/html/phpMyAdmin
```
6. **配置phpMyAdmin**:
编辑配置文件config.default.php:
```bash
cd /usr/local/nginx/html/phpMyAdmin/libraries
vim config.default.php
```
修改以下几行以匹配你的MySQL设置:
```php
$cfg['Servers'][$i]['host'] = '127.0.0.1';
$cfg['Servers'][$i]['user'] = 'root';
$cfg['Servers'][$i]['password'] = 'your_password';
```
7. **配置Apache或Nginx**:
如果使用的是Apache,编辑httpd.conf文件来包含phpMyAdmin的配置:
```bash
vim /etc/httpd/conf.d/phpMyAdmin.conf
```
添加以下内容:
```apache
Alias /phpMyAdmin /usr/local/nginx/html/phpMyAdmin
AddDefaultCharset UTF8
# Apache 2.4
Require ip 127.0.0.1
Require ip ::1
# Apache 2.2
Order Deny,Allow
Deny from All
Allow from 127.0.0.1
Allow from ::1
```
如果使用的是Nginx,编辑nginx.conf文件:
```bash
vim /etc/nginx/nginx.conf
```
在server块中添加以下内容:
```nginx
location /phpMyAdmin {
root /usr/local/nginx/html;
index index.php index.html index.htm;
location ~ \.php$ {
try_files $uri =404;
fastcgi_pass unix:/var/run/phpfpm.sock;
fastcgi_index index.php;
fastcgi_param SCRIPT_FILENAME $document_root$fastcgi_script_name;
include fastcgi_params;
}
}
```
8. **重启服务**:
重启Apache或Nginx以及PHP服务:
```bash
sudo systemctl restart httpd # 对于Apache
sudo systemctl restart nginx # 对于Nginx
sudo systemctl restart phpfpm
```
9. **访问phpMyAdmin**:
打开浏览器,输入http://your_server_ip/phpMyAdmin,即可访问phpMyAdmin。
### 相关问答FAQs
**Q1: 如果在访问phpMyAdmin时遇到“No such file or directory”错误怎么办?
A1: 这种错误通常是由于配置文件中的路径不正确引起的,请检查`config.default.php`文件中的`host`设置是否为`127.0.0.1`,而不是`localhost`,确保MySQL服务正在运行,并且用户权限设置正确。
**Q2: 如何限制phpMyAdmin只能通过特定IP地址访问?
A2: 要限制phpMyAdmin的访问,可以编辑Apache或Nginx的配置文件,在Apache的`phpMyAdmin.conf`中,你可以修改````apache
Require ip 192.168.1.100
Require ip 192.168.1.101
```
这将只允许从192.168.1.100和192.168.1.101这两个IP地址访问phpMyAdmin,对于Nginx,可以在location块中使用`allow`和`deny`指令来实现类似的功能。

