在CentOS 7上编译和部署LAMP(Linux + Apache + MySQL/MariaDB + PHP)环境是一个复杂但非常灵活的过程,以下是详细的步骤,包括安装所需的软件包、编译各个组件以及配置服务。
一、需求及环境准备
1. 版本需求

| 软件 | 版本 |
| CentOS | 7.6 |
| Apache | 2.4.37 |
| MySQL | 5.7.25 |
| PHP | 7.1.33 |
| OpenSSL | 1.1.1i |
| Curl | 7.74.0 |
2. 环境准备
确保主机名设置正确:hostnamectl sethostname static LAMPServer
关闭防火墙:systemctl stop firewalld && systemctl disable firewalld
禁用SELinux:setenforce 0
二、安装编译工具和开发包
yum y install epelrelease
yum y install make gcc gccc++ openssl openssldevel expatdevel pcredevel libtoolltdldevel freetypedevel libpngdevel gddevel libcurldevel libxsltdevel y
三、编译和安装OpenSSL
1. 下载并解压OpenSSL源码
cd /usr/local/src
wget https://www.openssl.org/source/openssl1.1.1i.tar.gz
tar xf openssl1.1.1i.tar.gz
cd openssl1.1.1i
2. 编译并安装OpenSSL
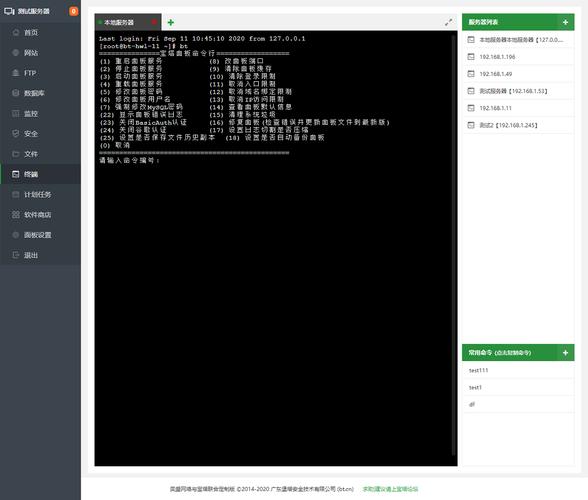
./config shared prefix=/usr/local/openssl1.1.1i && make && make install
ln s /usr/local/openssl1.1.1i/bin/openssl /usr/bin/openssl
echo "/usr/local/openssl1.1.1i/lib" >> /etc/ld.so.conf
/sbin/ldconfig
四、编译和安装Apache
1. 下载并解压Apache及其依赖的源码
cd /usr/local/src
wget https://mirrors.tuna.tsinghua.edu.cn/apache/apr/apr1.7.0.tar.gz
wget https://mirrors.tuna.tsinghua.edu.cn/apache/apr/aprutil1.6.1.tar.gz
wget https://mirrors.tuna.tsinghua.edu.cn/apache/httpd/httpd2.4.43.tar.gz
tar xf apr1.7.0.tar.gz C /usr/local/src/
tar xf aprutil1.6.1.tar.gz C /usr/local/src/
tar xf httpd2.4.43.tar.gz C /usr/local/src/
2. 编译并安装APR和APRutil
cd /usr/local/src/apr1.7.0
./configure prefix=/usr/local/apr
make && make install
cd /usr/local/src/aprutil1.6.1
./configure prefix=/usr/local/aprutil withapr=/usr/local/apr/bin/apr1config
make && make install
3. 编译并安装Apache
cd /usr/local/src/httpd2.4.43
./configure prefix=/usr/local/apache enableso enablerewrite enablessl withapr=/usr/local/apr withaprutil=/usr/local/aprutil withpcre=/usr/local/pcre enablemodules=most enablempmsshared=all withmpm=event
make && make install
4. 创建启动脚本并启动Apache服务
cp /usr/local/apache/bin/apachectl /etc/init.d/apachectl
chmod +x /etc/init.d/apachectl
chkconfig add apachectl
systemctl start apachectl
五、编译和安装PHP
1. 下载并解压PHP源码
cd /usr/local/src
wget https://www.php.net/distributions/php7.2.31.tar.gz
tar xf php7.2.31.tar.gz
cd php7.2.31
2. 编译并安装PHP
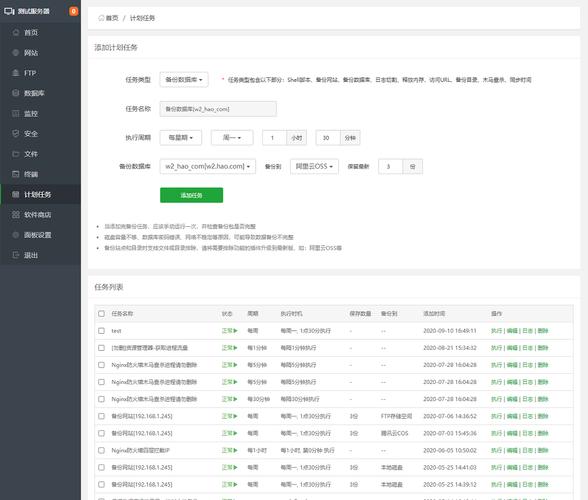
./configure prefix=/usr/local/php withmysqli=/usr/local/mysql enablembstring withcurl withopenssl withzlib enablesockets enablezip withfreetypedir withjpegdir withpngdir withgd enablegdnativettf withbz2=/usr enablebcmath withmcrypt withcurl withapxs2=/usr/local/apache/bin/apxs withconfigfilepath=/usr/local/php withconfigfilescandir=/usr/local/php/etc
make && make install
3. 配置PHP
cp sapi/php.ini /usr/local/php/etc/php.ini
六、编译和安装MySQL
1. 下载并解压MySQL源码
cd /usr/local/src
wget https://downloads.mysql.com/archives/get/p/23/file/mysqlboost5.7.25.tar.gz
tar xf mysqlboost5.7.25.tar.gz
cd mysql5.7.25
2. 编译并安装MySQL
cmake . DDOWNLOADS_FROM_MYSQL_NETWORK_REPO=1 DDEFAULT_CHARSET=utf8 DDEFAULT_COLLATION=utf8_general_ci DWITH_INNODB_STORAGE_ENGINE=1 DWITH_ARCHIVE_STORAGE_ENGINE=1 DWITH_BLACKHOLE_STORAGE_ENGINE=1 DMYSQL_DATADIR=/usr/local/mysql/data DMYSQL_TCP_PORT=3306 DINSTALL_LAYOUT=STANDALONE DINSTALL_DOCREADMEFILE=YES DINSTALL_MANPAGES=YES DINSTALL_READMESQL=YES DMYSQL_UNIX_ADDR=/usr/local/mysql/mysql.sock DMYSQL_USER=mysql j4
make && make install
groupadd mysql
useradd r g mysql s /bin/false mysql
cp supportfiles/mysql.server /etc/init.d/mysqld
chmod +x /etc/init.d/mysqld
chkconfig add mysqld
3. 初始化数据库并启动MySQL服务
cd /usr/local/mysql/bin
./mysqld initialize user=mysql
systemctl start mysqld
七、配置虚拟主机和测试LAMP环境
编辑Apache配置文件/usr/local/apache/conf/httpd.conf,添加以下内容:
DocumentRoot "/usr/local/apache/htdocs"
<Directory "/usr/local/apache/htdocs">
    Options Indexes FollowSymLinks
    AllowOverride None
    Require all granted
</Directory>
启动Apache服务并测试:
systemctl restart apachectl
curl I http://localhost
如果返回HTTP头信息,说明LAMP环境配置成功。
八、FAQs
Q1: 为什么需要编译安装LAMP,而不是使用包管理器?
A1: 编译安装LAMP环境提供了更高的灵活性和控制权,可以根据具体需求定制各个组件的配置和功能,编译安装可以确保使用最新的稳定版本,并且避免了包管理器中可能存在的版本滞后问题。
Q2: 如何更改Apache默认的文档根目录?
A2: 编辑Apache配置文件/usr/local/apache/conf/httpd.conf,找到DocumentRoot 指令并修改为新的路径,将DocumentRoot "/usr/local/apache/htdocs" 改为DocumentRoot "/var/www",然后重新启动Apache服务使更改生效:systemctl restart apachectl。


