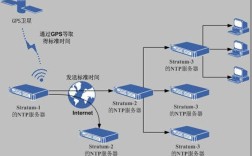
在CentOS系统中,同步时间是一个非常重要的操作,以确保系统时钟的准确性和一致性,本文将详细介绍CentOS系统中的时间同步方法,包括NTP和Chrony两种工具的使用及其配置步骤,以下是具体介绍:
NTP简介及作用
1、简介:NTP(Network Time Protocol)是一种用于在计算机系统之间通过分组交换进行时钟同步的网络协议,位于OSI模型的应用层。
2、作用:NTP的主要作用是协调世界时(UTC)时间,使所有参与计算机的时间同步到几毫秒的误差内。
CentOS 7基于NTP的时间同步
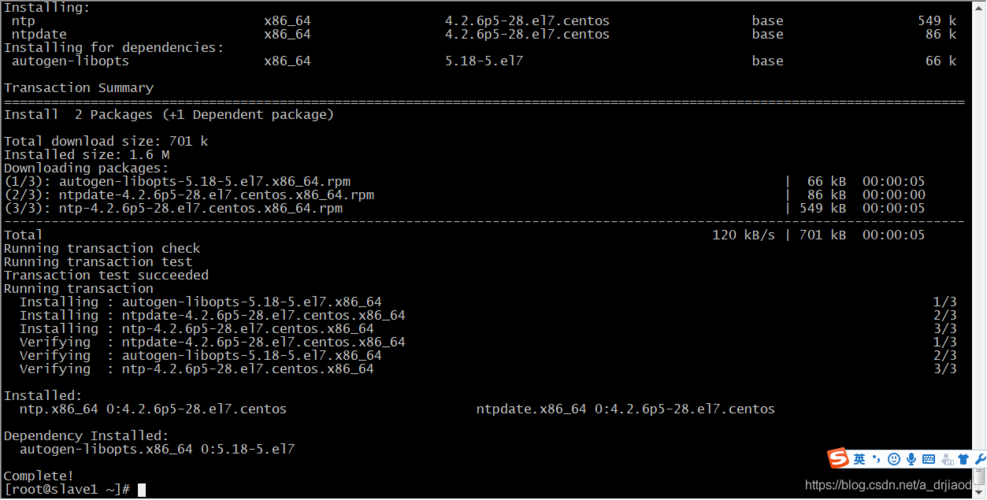
1、安装ntp:使用yum命令安装ntp包。
sudo yum install ntp
2、修改/etc/ntp.conf:编辑配置文件以添加或修改NTP服务器,可以使用阿里云的NTP服务器,如下所示:
Use public servers from the pool.ntp.org project.
Please consider joining the pool (http://www.pool.ntp.org/join.html).
new(新增)
server ntp1.aliyun.com prefer
server ntp2.aliyun.com
old(原有)
server 0.centos.pool.ntp.org iburst
server 1.centos.pool.ntp.org iburst
server 2.centos.pool.ntp.org iburst
server 3.centos.pool.ntp.org iburst
3、启动并设置NTP服务:手工发起同步并查看时间是否已经同步。
sudo ntpdate ntp1.aliyun.com
date
sudo service ntpd start
sudo chkconfig ntpd on
CentOS 8及以上版本使用Chrony进行时间同步
1、安装chrony:使用yum命令安装chrony包。
sudo yum install chrony
2、配置chrony:编辑配置文件/etc/chrony.conf,可以添加NTP服务器地址。
Use public servers from the pool.ntp.org project.
Please consider joining the pool (http://www.pool.ntp.org/join.html).
server ntp1.aliyun.com iburst
server ntp2.aliyun.com iburst
3、启动并设置chrony服务:启动chrony服务并设置为开机自启。
sudo systemctl start chronyd
sudo systemctl enable chronyd
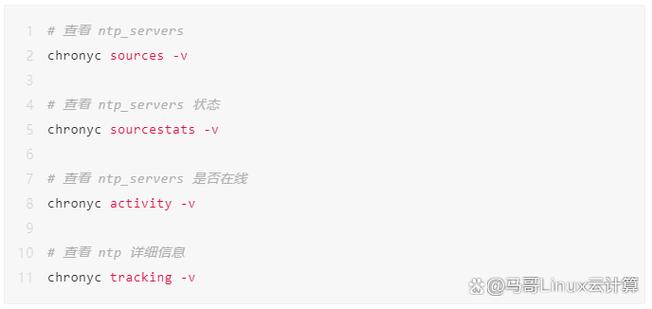
4、检查时间同步状态:使用chronyc命令检查时间同步状态。
chronyc sources v
常见问题解答 FAQs
1、为什么需要同步系统时间?
确保应用一致性:许多应用程序和服务依赖于系统时间来进行日志记录、调度任务等,如果系统时间不准确,可能会导致这些问题。
安全性:某些安全机制如证书和密钥的有效期依赖于准确的系统时间。
法规要求:某些行业对时间记录有严格要求,如金融和医疗行业。
2、如何手动设置系统时间和时区?
设置系统时间:使用date命令设置系统时间。
```bash
sudo date s "20230929 14:30:00"
```
设置硬件时钟:使用hwclock命令设置硬件时钟。
```bash
sudo hwclock set date="20230929 14:30:00"
```
设置时区:使用timedatectl命令设置时区。
```bash
sudo timedatectl settimezone Asia/Shanghai
```
通过以上步骤和方法,您可以在CentOS系统中有效地同步时间,确保系统时间的一致性和准确性,无论是使用NTP还是Chrony,都可以根据具体需求选择合适的工具和方法。


