在CentOS上部署流媒体服务是一项复杂但非常有价值的任务,它能够支持实时视频传输、直播和点播功能,以下是一个详细的指南,涵盖了如何在CentOS上高效部署和管理流媒体服务。
背景与概念
流媒体(Streaming Media)是指在数据网络上按时间先后次序传输和播放的连续或分段的媒体内容,相比于传统的下载播放方式,流媒体允许用户在下载文件的同时进行观看,极大地减少了等待时间并提高了用户体验。
CentOS下的主流流媒体服务器
1. SRS(Simple Realtime Server)
SRS是一款高效、稳定且易于使用的流媒体服务器,支持RTMP、HLS、WebRTC等多种协议,广泛应用于直播场景。
安装步骤:
1、下载SRS源码包:
   git clone https://github.com/ossrs/srs.git
   cd srs
2、编译并安装SRS:
./configure && make && make install
3、设置开机自启动:
   ln sf /usr/local/srs/etc/init.d/srs /etc/init.d/srs
   cp /usr/local/srs/libexec/systemd/system/srs.service /usr/lib/systemd/system/srs.service
   systemctl daemonreload
   systemctl enable srs
   systemctl start srs
4、推流与播放:
使用FFmpeg进行推流:
ffmpeg re i input.mp4 c copy f flv rtmp://192.168.31.80/live/livestream
使用VLC进行观看:
rtmp://192.168.31.80/live/livestream
2. Nginx + RTMP模块
Nginx通过添加RTMP模块也可以实现流媒体服务,特别适用于需要高并发的场景。
安装依赖:
yum install gcc g++ pcre pcredevel zlib zlibdevel openssl openssldevel
下载并编译Nginx与RTMP模块:
wget http://nginx.org/download/nginx1.18.0.tar.gz
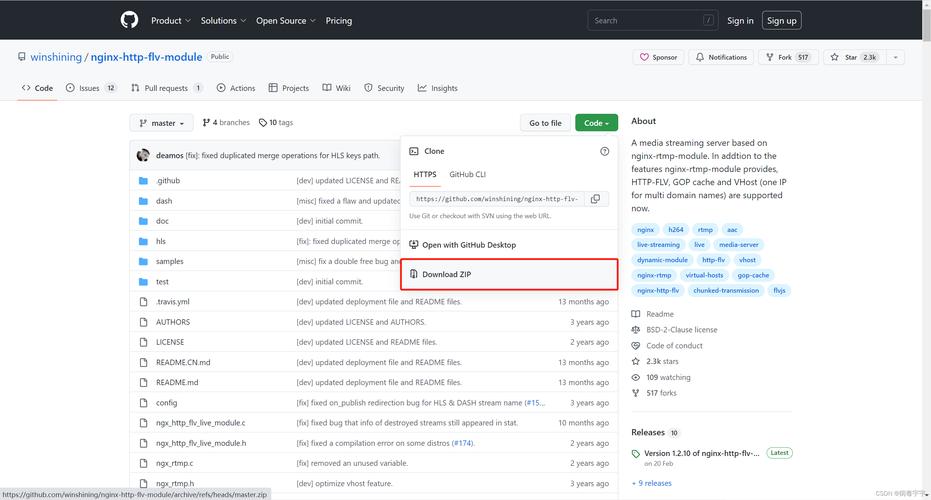
wget https://github.com/arut/nginxrtmpmodule/archive/master.zip
tar zxvf nginx1.18.0.tar.gz
unzip master.zip
cd nginx1.18.0
./configure addmodule=../nginxrtmpmodulemaster
make
make install
配置Nginx:
编辑Nginx配置文件nginx.conf:
rtmp {
    server {
        listen 1935;
        chunk_size 4096;
        application live {
            live on;
        }
    }
}
http {
    server {
        listen 8080;
        location / {
            root html;
            index index.html index.htm;
        }
    }
}
启动Nginx:
/usr/local/nginx/sbin/nginx
推流与播放:
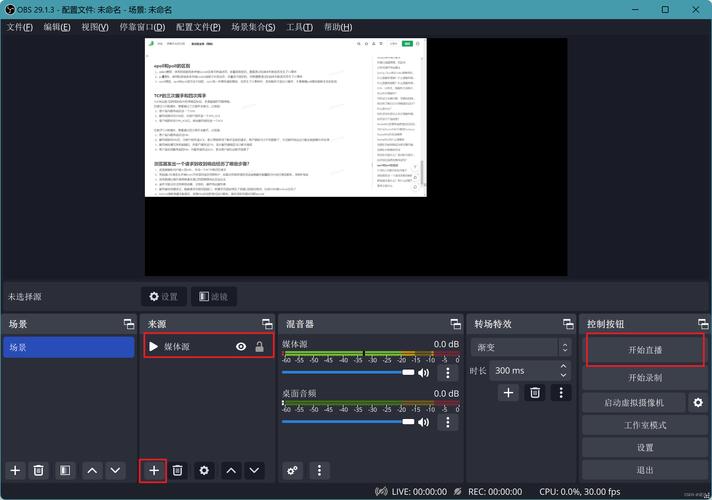
使用OBS进行推流:
rtmp://192.168.31.80:1935/live/stream
使用VLC进行播放:
rtsp://192.168.31.80:1935/live/stream
3. Jellyfin
Jellyfin是一款免费的媒体服务器软件,支持多平台客户端,适用于家庭多媒体管理与播放。
安装步骤:
1、配置Yum源并安装依赖:
   wget O /etc/yum.repos.d/CentOSBase.repo https://mirrors.aliyun.com/repo/Centos7.repo
   yum update y
   yum install epelrelease y
   yum install wget tar unzip gcc g++ make cmake3 libcurldevel libpngdevel libX11devel libXextdevel libXfixesdevel libXrandrdevel libXineramadevel libXmudevel libjpegturbodevel libavformatdevel libswscaledevel libavcodecdevel libavudevtools dev libpostprocdevel libvadevel libvdpaudevel libvdpaudriverdevel libfdkaacdevel libmp3lamedevel libopusdevel libvorbisdevel libtheoradevel libwebpdevel librtmpdevel libssldevel libassdevel libfreetypedevel libfribididevel libfontconfigdevel libidndev el python3 python3pip python3setuptools python3wheel python3cryptography python3lxml python3yaml python3jinja2 python3requests python3sqlalchemy python3aiohttp python3chardet
2、下载并安装Jellyfin:
   wget https://repo.jellyfin.org/releases/server/10.6.4/jellyfin_10.6.4_amd64.deb
   dpkg i jellyfin_10.6.4_amd64.deb
3、启动Jellyfin服务:
   systemctl enable jellyfin
   systemctl start jellyfin
使用Jellyfin:
通过浏览器访问Jellyfin的Web界面进行配置与管理:http://<服务器IP>:8096,默认账号为admin,密码为password。
低延迟配置与优化
SRS低延迟配置
SRS提供了丰富的接入方案将RTMP流接入SRS,包括推送RTMP到SRS、推送RTSP/UDP/FLV到SRS、拉取流到SRS等,SRS还支持将接入的RTMP流进行各种变换,譬如将RTMP流转码、流截图、转发给其他服务器、转封装成HTTPFLV流、转封装成HLS、转封装成HDS、转封装成DASH、录制成FLV/MP4。
低延迟配置示例:
在vhost __defaultVhost__ 添加以下配置:
tcp_nodelay on;
min_latency on;
play {
    gop_cache off;
    queue_length 10;
    mw_latency 100;
}
publish {
    mr off;
}
相关问答FAQs
Q1: 如何在CentOS上安装并配置SRS流媒体服务器?
A1: 安装并配置SRS流媒体服务器的步骤如下:
1、下载SRS源码包并解压:git clone https://github.com/ossrs/srs.git。
2、编译并安装SRS:./configure && make && make install。
3、设置开机自启动并启动SRS服务:ln sf /usr/local/srs/etc/init.d/srs /etc/init.d/srs,然后执行systemctl daemonreload,systemctl enable srs和systemctl start srs。
4、使用FFmpeg进行推流:ffmpeg re i input.mp4 c copy f flv rtmp://192.168.31.80/live/livestream。
5、使用VLC进行观看:rtmp://192.168.31.80/live/livestream。
Q2: 如何在CentOS上安装并配置Jellyfin流媒体服务器?
A2: 安装并配置Jellyfin流媒体服务器的步骤如下:
1、配置Yum源并更新系统:wget O /etc/yum.repos.d/CentOSBase.repo https://mirrors.aliyun.com/repo/Centos7.repo,然后执行yum update y。
2、安装必要的依赖:yum install epelrelease y,然后安装其他依赖项。
3、下载并安装Jellyfin:wget https://repo.jellyfin.org/releases/server/10.6.4/jellyfin_10.6.4_amd64.deb,然后执行dpkg i jellyfin_10.6.4_amd64.deb。
4、启动Jellyfin服务:systemctl enable jellyfin和systemctl start jellyfin。
5、通过浏览器访问Jellyfin的Web界面进行配置与管理:http://<服务器IP>:8096,默认账号为admin,密码为password。


