在CentOS 7服务器上部署apache Subversion (SVN) 服务器,可以通过以下步骤完成:
先决条件
1、CentOS 7:最小化安装即可,但不必是必需的。
2、sudo用户登录:可以直接使用root用户登录。
安装Apache
1、使用YUM安装Apache:
- yum install y httpd
2、删除Apache的默认欢迎页面:
- sed i 's/^/#&/g' /etc/httpd/conf.d/welcome.conf
3、防止Apache在/var/www/html目录中显示文件:
- sed i "s/Options Indexes FollowSymLinks/Options FollowSymLinks/" /etc/httpd/conf/httpd.conf
安装SVN和mod_dav_svn模块
1、安装Subversion和mod_dav_svn:
- yum install y subversion mod_dav_svn
配置SVN
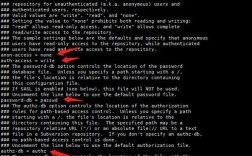
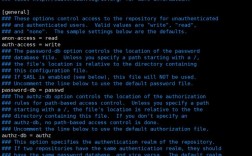
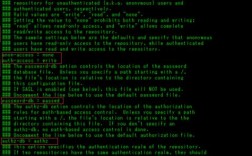
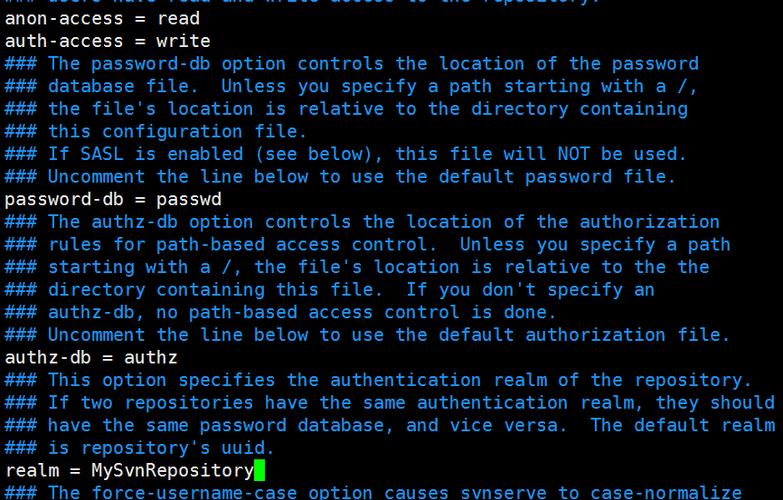
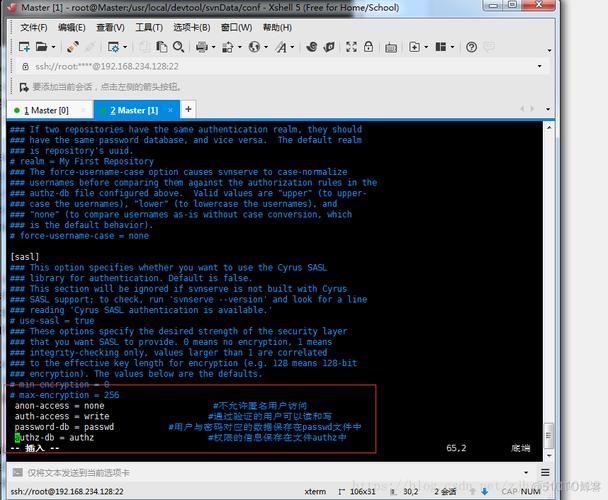
1、修改SVN配置文件:
编辑/etc/httpd/conf.modules.d/10subversion.conf,添加以下内容:
- <Location /svn>
- DAV svn
- SVNParentPath /svn
- AuthName "SVN Repos"
- AuthType Basic
- AuthUserFile /etc/svn/svnauth
- AuthzSVNAccessFile /svn/authz
- Require validuser
- </Location>
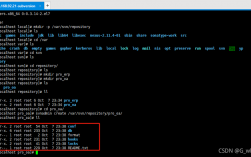
2、创建SVN仓库:
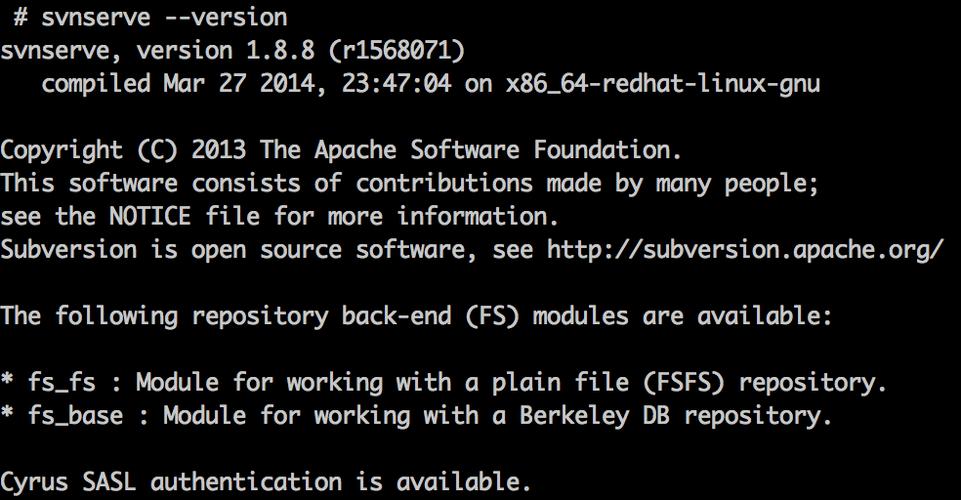
- mkdir /svn
- cd /svn
- svnadmin create repo1
- chown R apache:apache repo1
3、设置SVN用户帐号:
- mkdir /etc/svn
- htpasswd cm /etc/svn/svnauth user001
- chown root:apache /etc/svn/svnauth
- chmod 640 /etc/svn/svnauth
如果需要创建更多用户账户,使用以下命令:
- htpasswd m /etc/svn/svnauth user002
- htpasswd m /etc/svn/svnauth user003
4、为用户设置权限:
复制权限配置文件并编辑:
- cp /svn/repo1/conf/authz /svn/authz
- vi /svn/authz
假设user001是管理员,user002具有读写权限,user003只能读,则配置文件内容如下:
- [groups]
- admin=user001
- repo1_user=user002
- repo1_trainee=user003
- [/]
- @admin=rw
- [repo1:/]
- @repo1_user=rw
- @repo1_trainee=r
5、启动Apache并修改防火墙规则:
启动Apache服务:
- systemctl start httpd.service
- systemctl enable httpd.service
打开HTTP服务端口:
- firewallcmd zone=public permanent addservice=http
- firewallcmd reload
6、访问SVN仓库:
通过SVN客户端访问服务器上的SVN仓库:
- http://<yourserverip>/svn/repo1/
常见问题解答(FAQs)
1、如何为SVN仓库添加新用户?
答:要为SVN仓库添加新用户,可以使用以下命令:
- htpasswd m /etc/svn/svnauth newuser
更新权限配置文件(如/svn/authz),确保新用户有适当的权限。
2、如何备份SVN仓库?
答:要备份SVN仓库,可以使用svnadmin命令,要备份名为repo1的仓库,可以执行以下命令:
- svnadmin hotcopy /svn/repo1 /path/to/backup/location
这将创建一个可随时恢复的备份副本。

