CentOS 邮件服务配置与应用
一、基础环境准备
1、硬件要求:虚拟机或ECS,最低配置为1C1G(推荐2C4G)。
2、操作系统:CentOS Linux 7.9 x86_64。
3、公网IP:运营商分配的公网IP或弹性公网IP。
4、域名:拥有一个域名(如example.com),可以在阿里云万网购买。
二、配置域名解析
1、登录阿里云,进入域名控制台。
2、在DNS解析中添加A记录和MX记录。
3、A记录指向服务器的公网IP。
4、MX记录指向mail.example.com,优先级为0。
三、安装邮件服务
1、关闭SELinux和防火墙:
   setenforce 0
   systemctl stop firewalld
   iptables F
2、更新YUM源并安装必要的软件包:
   yum install wget y
   wget http://dev.mysql.com/get/mysqlcommunityreleaseel75.noarch.rpm
   rpm ivh mysqlcommunityreleaseel75.noarch.rpm
   wget http://dl.fedoraproject.org/pub/epel/epelreleaselatest7.noarch.rpm
   rpm ivh epelreleaselatest7.noarch.rpm
   yum install postfix dovecot cyrussaslplain y
3、配置Postfix:
编辑/etc/postfix/main.cf文件:
     myhostname = mail.example.com
     mydomain = example.com
     inet_interfaces = all
     inet_protocols = all
     mydestination = $myhostname, $mydomain, localhost.$mydomain, localhost
     home_mailbox = Maildir/
     smtpd_sasl_auth_enable = yes
     smtpd_sasl_security_options = noanonymous, noplaintext
     smtpd_recipient_restrictions = permit_mynetworks,permit_sasl_authenticated,reject_unauth_destination
启动并设置开机自启:

     systemctl start postfix
systemctl enable postfix4、配置Dovecot:
编辑/etc/dovecot/dovecot.conf文件:
     !include conf.d/10auth.conf
     ssl = no
     disable_plaintext_auth = no
     mail_location = maildir:~/Maildir
启动并设置开机自启:
     systemctl start dovecot
systemctl enable dovecot5、生成SSL证书:
生成私钥和CSR:
     openssl genrsa des3 out server.key 2048
     openssl rsa in server.key out server.key.insecure
     openssl req new key server.key out server.csr
将CSR提交到CA机构以获取SSL证书。
四、创建用户并测试邮件收发
1、创建邮件用户:
   useradd mailuser
   passwd mailuser
2、安装Cyrus SASL库:
   yum install cyrussaslplain y
   testsaslauthd u mailuser p 'password'
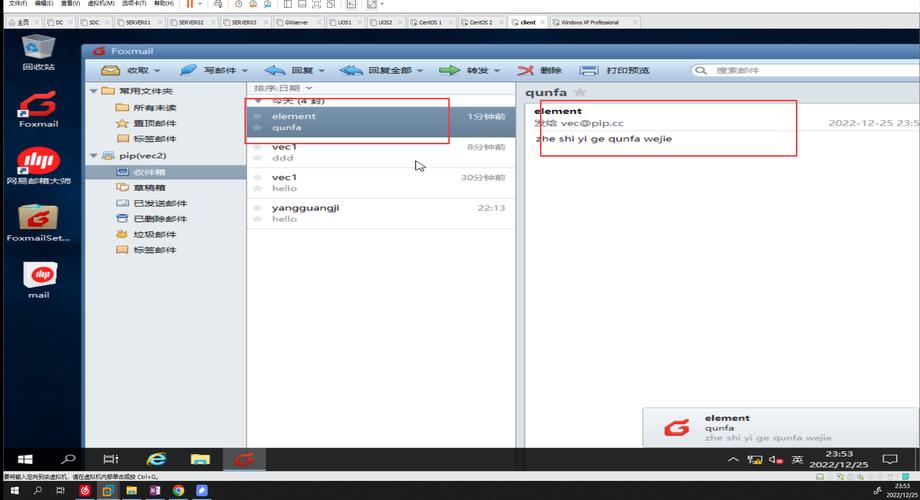
3、使用Foxmail等邮件客户端进行配置:
接收邮件服务器(IMAP):mail.example.com,端口143。
发送邮件服务器(SMTP):mail.example.com,端口25。
用户名:mailuser@example.com。
密码:配置的密码。
4、测试邮件收发:
使用Foxmail发送邮件至其他邮箱。
使用其他邮箱发送邮件至自建邮件服务器。
五、相关FAQs
Q1: 为什么无法收到邮件?
A1: 检查域名解析是否正确,确保MX记录指向mail.example.com,检查防火墙设置,确保开放了25端口,如果问题依旧,查看日志文件/var/log/maillog以获取更多信息。
Q2: 如何提高邮件服务器的安全性?
A2: 建议开启SSL加密通信,安装并配置有效的SSL证书,限制邮件发送大小,防止滥用,还可以通过配置防火墙规则,仅允许信任的IP地址访问邮件服务器。

